This tutorial will provide you with how to Create a New Order in Axxess HomeCare.
Clients->Client Center->Select Client
Then, select Create->Order
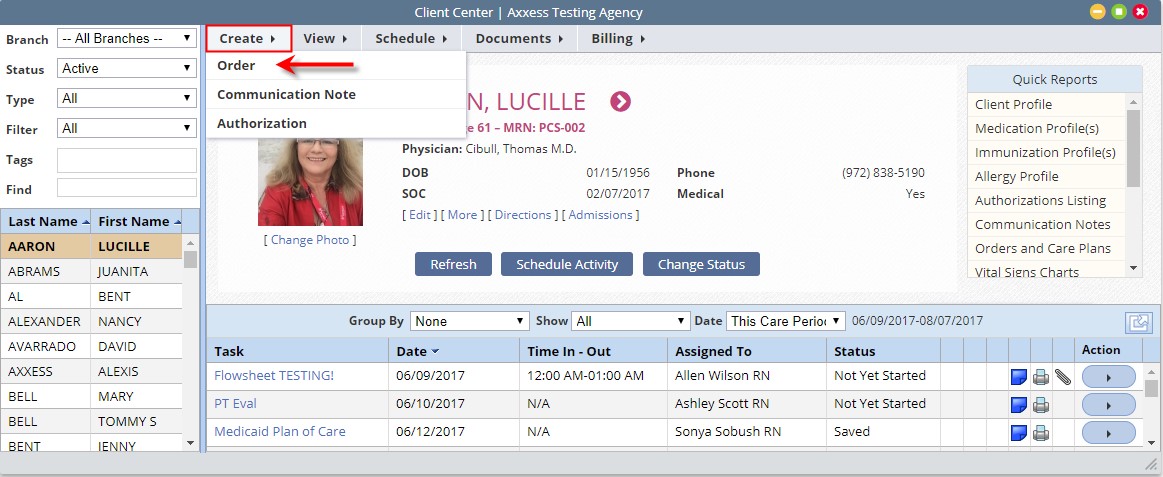
Selecting Order opens the "New Order" Window. which allows the user to create an order for the client. The required completion fields are marked with an asterisk.
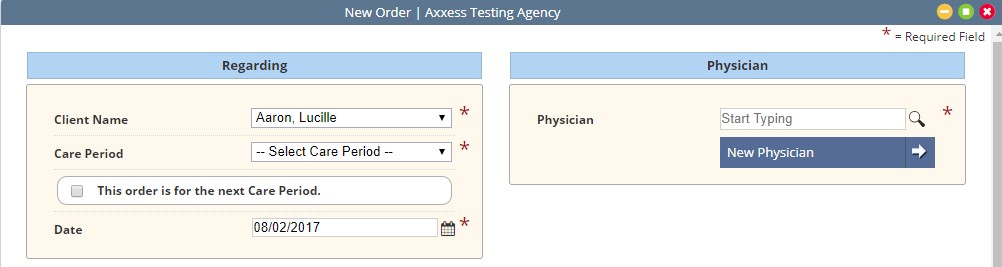
Regarding and Physician
- Client Name: Automatically pulls into the order
- Care Period: Contains a drop-down list of the client's active care periods
- Order is for next Care Period: The ability to indicate if the order is related to the next care period
- Date: This is the order date. The system defaults to the current date
- Physician: Select the physician the order has been received from or is being sent to
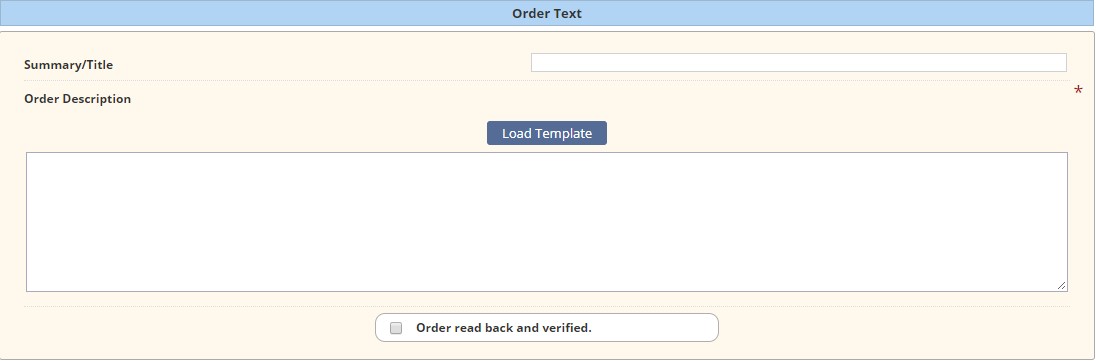
Order Information
- Summary/Title: Assists in identifying the order.
- Order Description: Document the content of the Order. Templates may be created for standard orders allowing the user to select the template verbiage for population.
- Order read back and verified: Indicate if the verbal order has been read back to physician.
Clinician Signature and Date
- Clinician Signature: Sign the order using electronic signature password
- Signature Date: Indicate the date completing the order.
Then
- Save: Saves the order for future completion. The order may be completed from the client's list chart as well as from Care Plans Tab under the client Quick Reports
- Complete:Finishes the order and sends to the appropriate next step which may include: Pending Co-Signature, QA Center or straight to Orders To Be Sent. Please Review "Orders Management Tutorial" for further in-depth training.
- Cancel:Closes the order without saving and takes the user back to the prior screen.

This completes Creating a New Order Tutorial


