Adding Clients
An agency has two options to add a Client into Axxess Homecare. The path you choose will depend on information you receive at time of referral as well as by the processes your agency follows.
- If your agency tracks referrals or you receive very little basic information at time of referral, entering the client in as a new referral will be your best option.
- If you receive more detailed information at time of referral it may be easier to enter the client in as a new client.
The agency has an intake option to enter as a "Referral" or "New Client" for each client that comes into your agency.
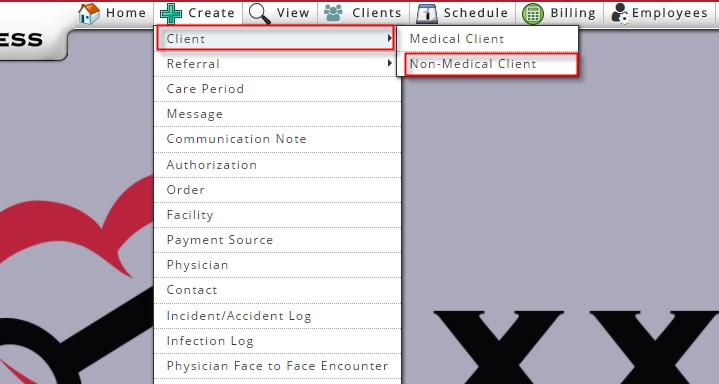
To add a new Non-Medical client in as a "Client" go to Create-> Client -> Medical Non-Medical Client
Throughout Axxess HomeCare; field items that require completion to save the document to the database are indicated by a red asterisk to the right of the field.
Demographics
Items noted with a red asterisk in the Demographics section include:
- Client First Name/Last Name/Gender and Date of Birth enter client information.
- Address Line 1, address where the client will be receiving care, City, State and Zip.
- Client ID/MRN Number: Agency will enter in the client ID/MRN number. We list the last used MRN number as a reference.
- Agency Branch: Select the branch the client will be receiving care through.
- Primary Phone Number: Enter the client's primary phone number.
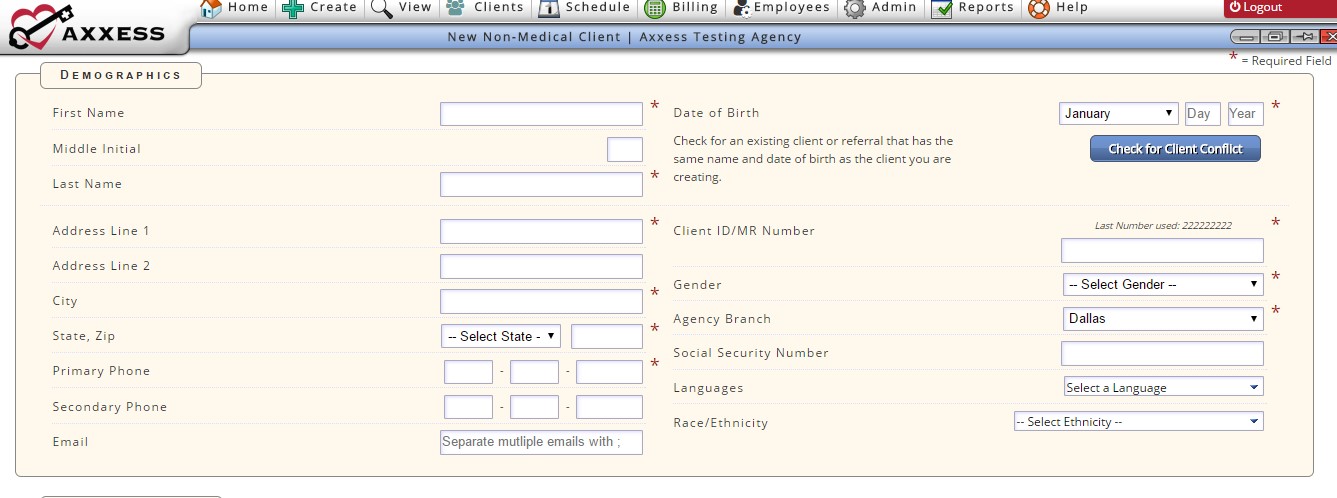
 Once the client name and DOB are entered the user has the option to check for client conflict. This action checks for any existing clients that match the name/DOB of the referral.
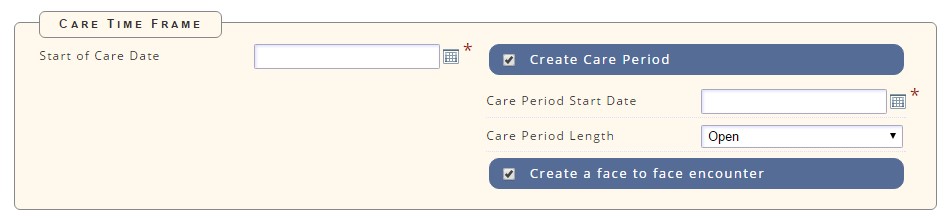
Care Period Time
 Your next section in the Non-Medical Client Intake is Care Period Time Frame. Required Fields are as follows:
- Start of Care Date: The date the Client will begin receiving Services
- Check the Create Care Period if you want the solution to create the client's initial Care Period once admitted. Care Periods are a pre-requisite for scheduling.
- Care Period Start Date: This is usually the same as the Start of Care Date
- Care Period Length: While not required, if you are creating the care period (above) you will need to indicate length.
Face to Face Encounter
- Face to Face Encounter: when selected, the system will create a Face to Face Encounter task for the agency to send/track to a physician. (This is typically not needed for Non-Medical Clients)
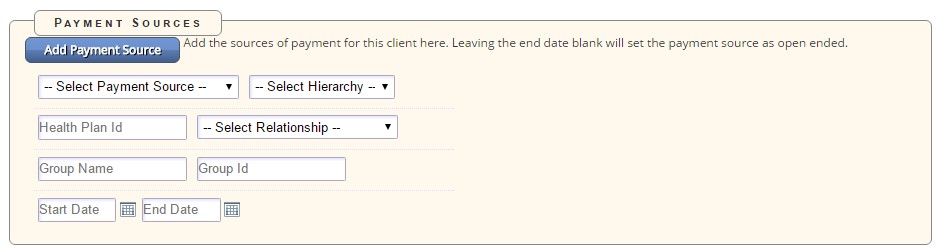
Payment Sources
This section is not required at initial client intake; however, beneficial to input as soon as it is obtained. If you do not have Payment Source/s information during the Intake process it can be added through Clients-> Client Center-> Edit Client (See Edit Client tutorial for additional information)
- Select Payment Source: All payment sources the agency has set up will be available for selection.
- Select Hierarchy: Indicate the hierarchy the particular payment source is for the client. (Primary, Secondary, Tertiary)
- Relationship: Select the client's relationship to the Insurance (Self, Spouse, POA, etc..)
- Agency can place additional Payment Source Information about the Payment Source: Plan ID, Group Name, Group ID, Start and End Date (If Applicable)
Multiple Payment Sources may be added via the Add Payment Source Tab
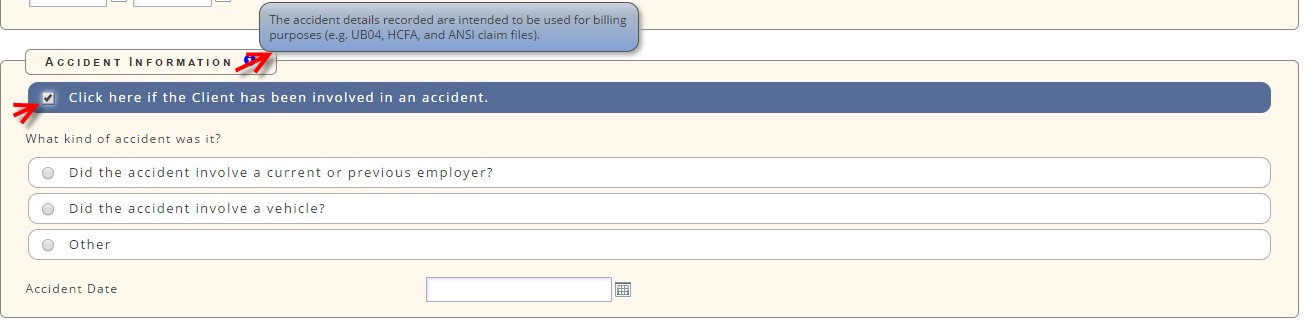
Accident Information
This section is not a required field for Intake of a Non-Medical Client. Complete this information when the client is receiving services due to an accident. This information is used during billing):
- What kind of accident was it:
- Did it involve a current or previous employer
- Did the accident involve a vehicle
- Other
- Date of Accident
Services Required
Indicate the services the client will be receiving. Options available reflect what the agency set up in Manage Company Information.

Referral Source
This section assists the agency in tracking where clients are coming from.
- Referral Type: Describes what external entity sent the referral
- Referral Date: Enter the date the agency received the referral from the referral source
- Referral Start of Care Date: Requested date to begin services
- Admission Source: Where the client came from (Clinic/Physician, Hospital, SNF, etc.)
- Marketer: This is an internal user associated to the referral source.

Once all the required fields and any additional information are entered the user selects "Save" and the client is added.
The Client chart is now created and will now be located under the "Clients" tab -> Client Center
From here you are able to view and manage your Client Charts.


