Document Types (formerly called Upload Types) have been enhanced to support employee documentation management and storage. This enhancement enables users to upload and store employee documents to streamline documentation processes and facilitate compliance.
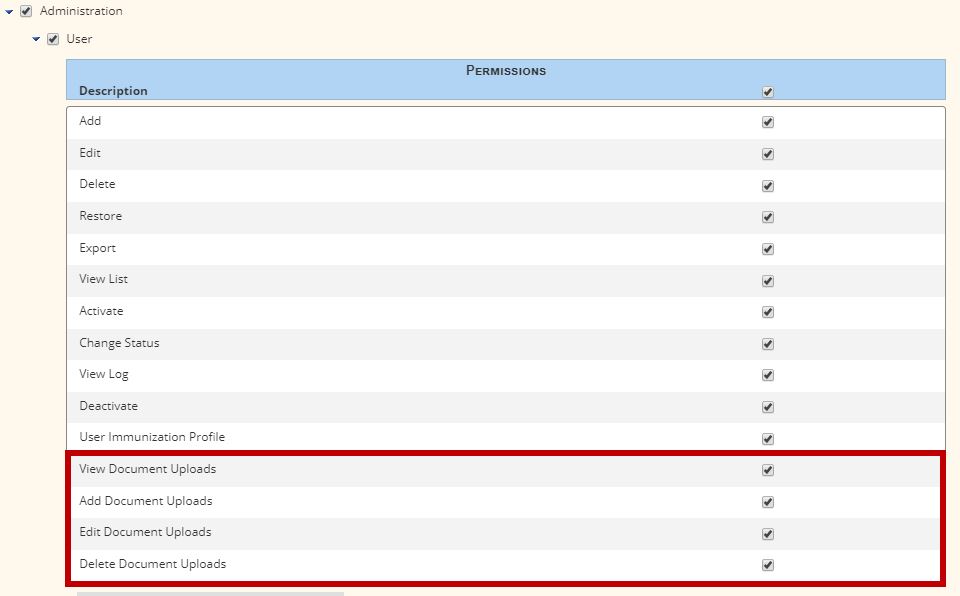
The ability to manage document types is permission-based. To give a user access to view, add, edit, and delete employee documents:
1. Navigate to the Employee Center under the Employees tab.
2. Locate the employee and select Permissions from the Quick Links menu in the top right of the user’s profile.
3. In the Administration section, expand the User subsection.
4. Select the Document permissions (View Document Uploads, Add Document Uploads, Edit Document Uploads, Delete Document Uploads).
5. Click Save.
To add a new Document Type:
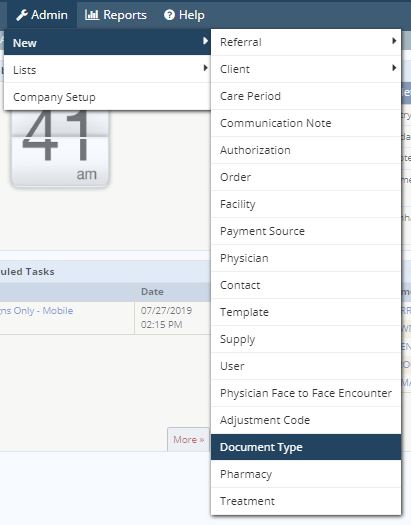
Under the Admin tab, hover over New and select Document Type from the drop-down menu.
Admin➜ New➜ Document Type
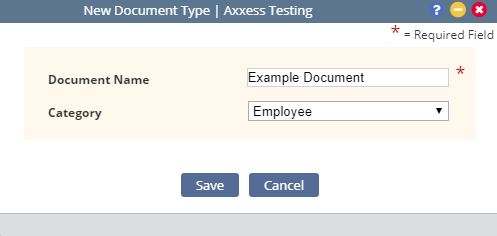
In the New Document Type window, enter a Document Name and select a Category (Employee, Client, or Both).
Click Save.
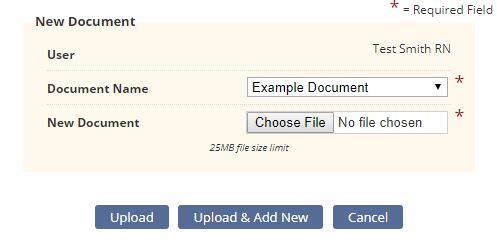
Employees ➜ Employee Center ➜ Documents ➜ New Document

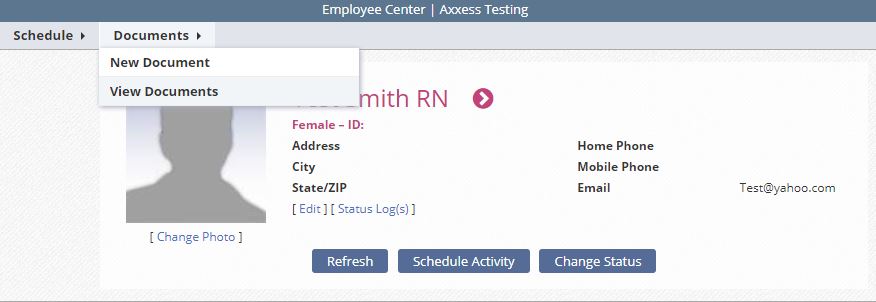
To view an employee’s documents, select View Documents from the Documents menu in the top left corner of the employee’s profile.
At the top of the User Documents List, find specific documents using the Filter by Text and/or Date Range filters. Users with edit/delete permissions have access to the Edit and Delete buttons in the Action column on the right side of the screen.
Edit enables users to change the document name. Once the user edits the document name and clicks Save, the name updates on the User Documents screen.

Updated on 10/03/2019